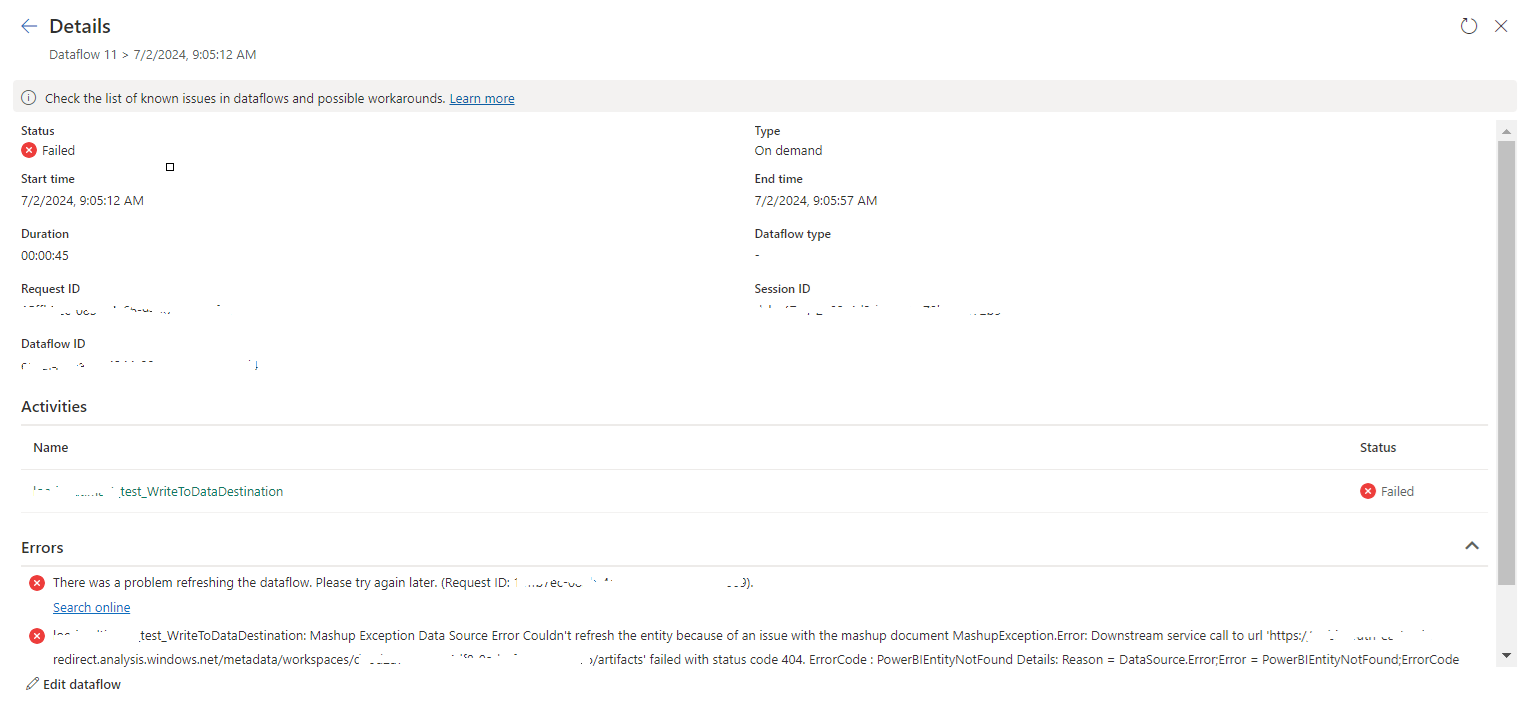
To take a screenshot on a Mac, you can use one of the following keyboard shortcuts:
- Press
Shift + Command + 3 to take a screenshot of the
entire screen. The screenshot will be saved as a PNG file on your desktop.
- Press
Shift + Command + 4 to take a screenshot of a
selected area. The cursor will change to a crosshair, which you can use to
select the area of the screen you want to capture. When you have selected
the area, release the mouse button or trackpad to take the screenshot. The
screenshot will be saved as a PNG file on your desktop.
- Press
Shift + Command + 4 and then press the space bar to
take a screenshot of a window. The cursor will change to a camera icon,
which you can use to select the window you want to capture. When you have
selected the window, click the mouse button or trackpad to take the
screenshot. The screenshot will be saved as a PNG file on your desktop.
You can also use the built-in Grab app to take a screenshot
on a Mac. To do this, open the Grab app (which is located in the Utilities
folder in the Applications folder), and then choose one of the capture options
from the "Capture" menu.
Hope this will be helpful.


No comments:
Post a Comment